Most disappointing photos are not bad photos. They are a little too dark, a little flat, or tinted blue by indoor light. Fixing that used to mean learning levels and curves. Auto enhance does it in one click and leaves every change on normal sliders, so you can still adjust it yourself.
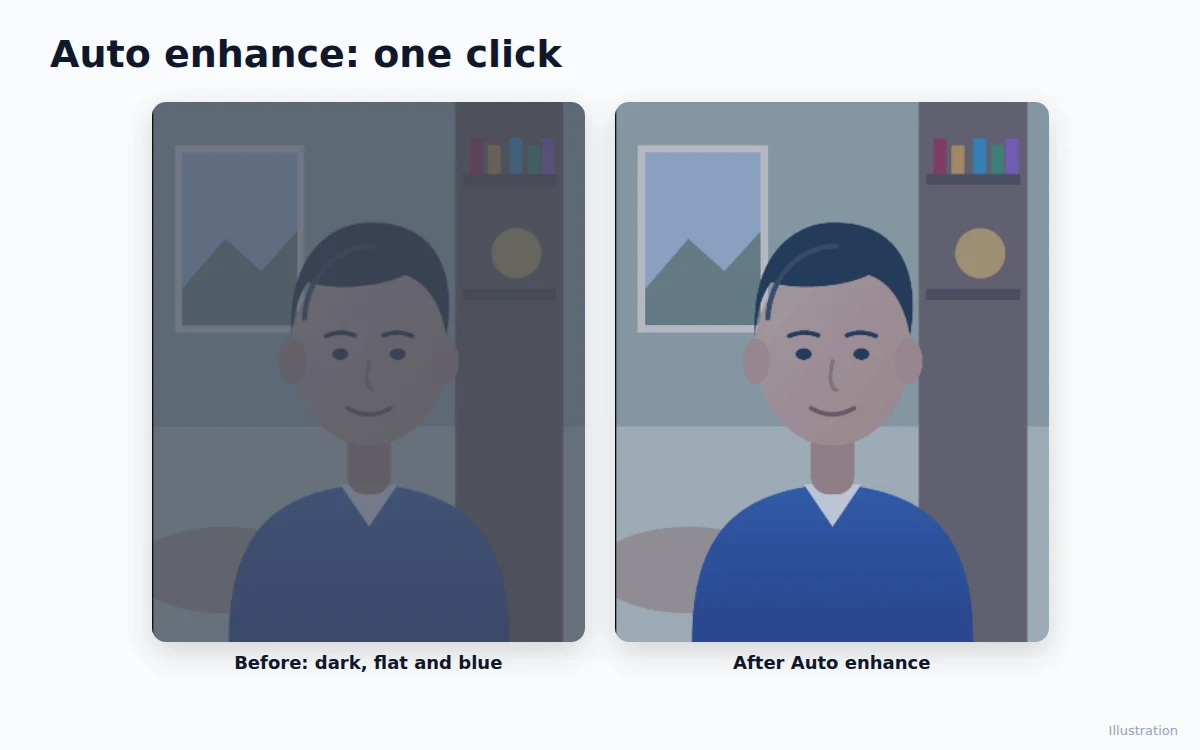
What makes a photo look dull
- Underexposure: the photo is too dark, so faces look grey.
- Low contrast: there is no real black or white, so everything looks washed out, typical of hazy days and screenshots of screens.
- Color cast: indoor bulbs make photos yellow, shade and evening light make them blue, and some phones add a green or pink tint.
- Pale colors: skin and sky look lifeless.
Auto enhance looks for all four at once.
Step 1: Open the photo and select it
Open HF Photo Editor, click Open and choose your photo. Click it on the canvas to select it.
Step 2: Press Auto enhance
In Properties, press Auto enhance, the button right above Filters.
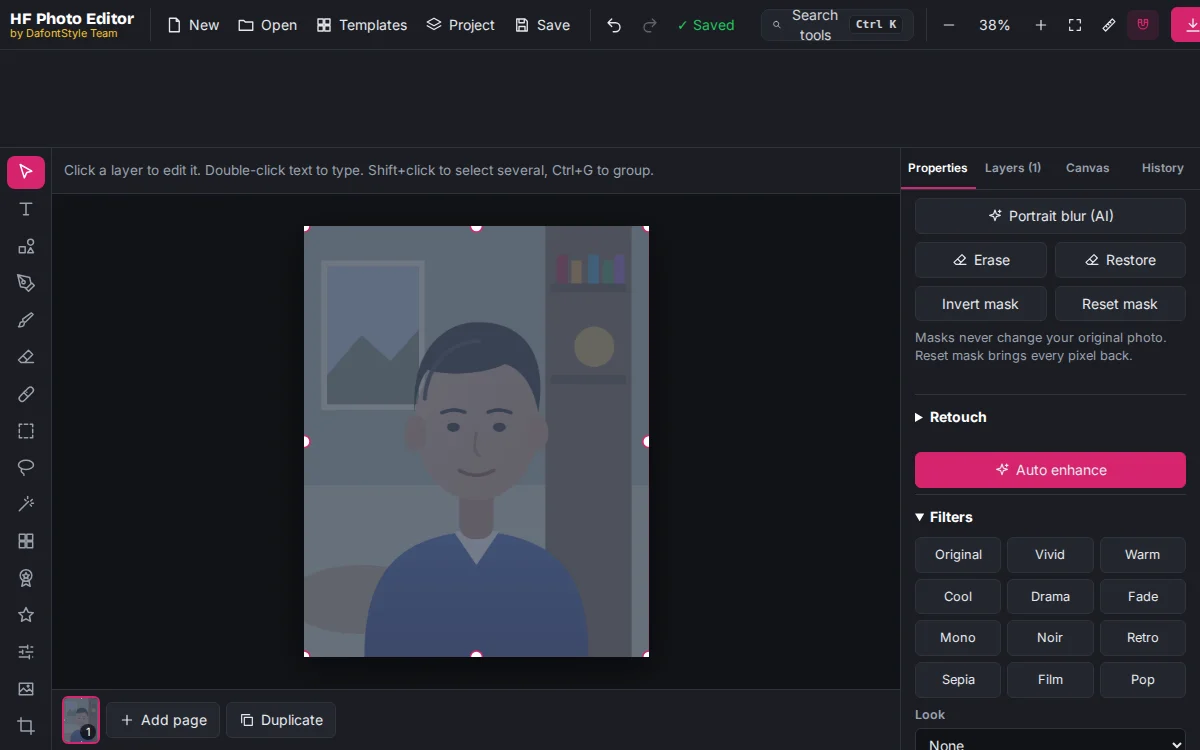
The editor reads the photo's own brightness and colors and sets the sliders for you. Press it again and you get the same result, because it always starts from your original photo.
Step 3: Fine-tune with the sliders
Every change is a normal slider, so nothing is hidden. Open Light, Levels and Color to see what changed:
| Slider | What Auto enhance does with it |
|---|---|
| Black point / White point | Stretches the darkest and brightest parts so the photo uses the full range |
| Midtones | Brightens or darkens the middle tones without blowing out the highlights |
| Contrast | Adds a little punch, more for flat photos |
| Temperature | Warms up blue photos or cools down yellow ones |
| Tint | Removes a green or pink cast |
| Vibrance | Boosts pale colors, gently for photos that are already colorful |
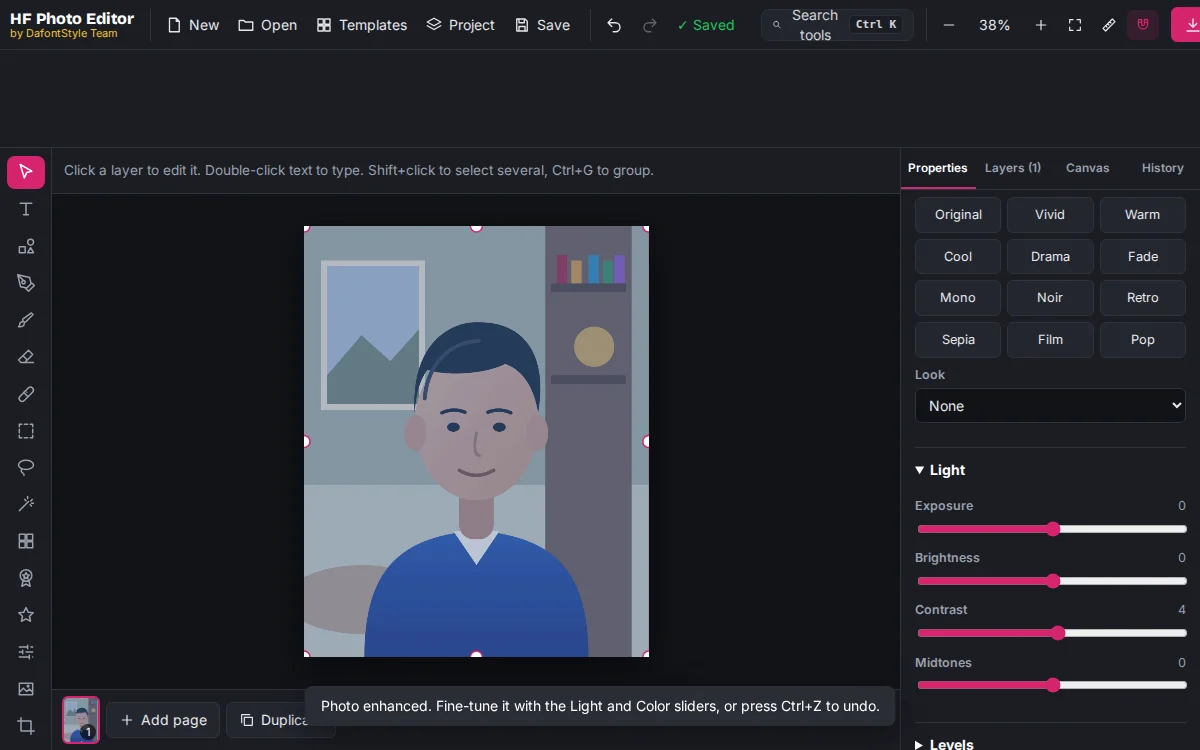
Want it warmer? Raise Temperature. Too bright? Lower Midtones. Not your style? Press Ctrl+Z.
Step 4: Add a look (optional)
After the basics are fixed, a filter looks much better. Try Vivid, Warm or Film under Filters. Turn on Sharpen in Detail for a little extra crispness.
Step 5: Download
Click Download, choose JPG and keep the high-quality size. If the photo is for Instagram, a story or Facebook, crop it to the right size for each platform first.
What Auto enhance cannot do
- Blurry photos stay blurry: it fixes light and color, not focus.
- Completely black or white areas have no detail left to recover.
- Noise in very dark photos may become more visible after brightening.
Once the light looks right, a soft background is the next step to a professional portrait: see how to add a portrait-mode blur.