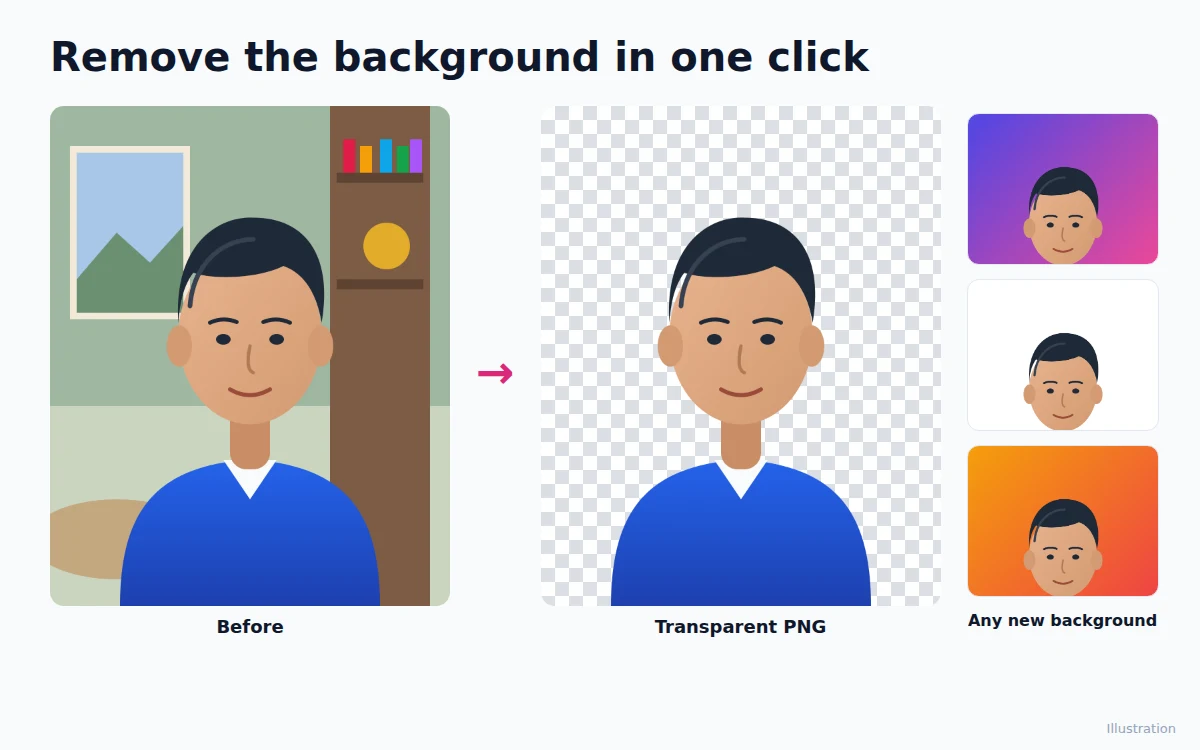
Removing the background used to mean careful work with the pen tool in Photoshop. Now an AI model can do it in a few seconds. This guide shows how to remove the background from a photo for free, fix the edges, add a new background and save the result.
What you can use it for
- Product photos for an online shop, on a clean white background.
- Profile pictures with a color or gradient behind you.
- YouTube thumbnails and posters where you stand in front of the text.
- Passport and ID photos that need a plain white background.
- Stickers and cut-outs for WhatsApp, Instagram stories and collages.
Step 1: Open your photo
Open HF Photo Editor and click Open, drag the photo onto the page or paste it with Ctrl+V. Click the photo to select it.
Choose a photo where the subject is in focus and clearly separate from the background. Busy backgrounds work, but a person in front of a plain wall gives the cleanest edges.
Step 2: Press Remove background (AI)
In the Properties panel, find Cut out and mask and press Remove background (AI).
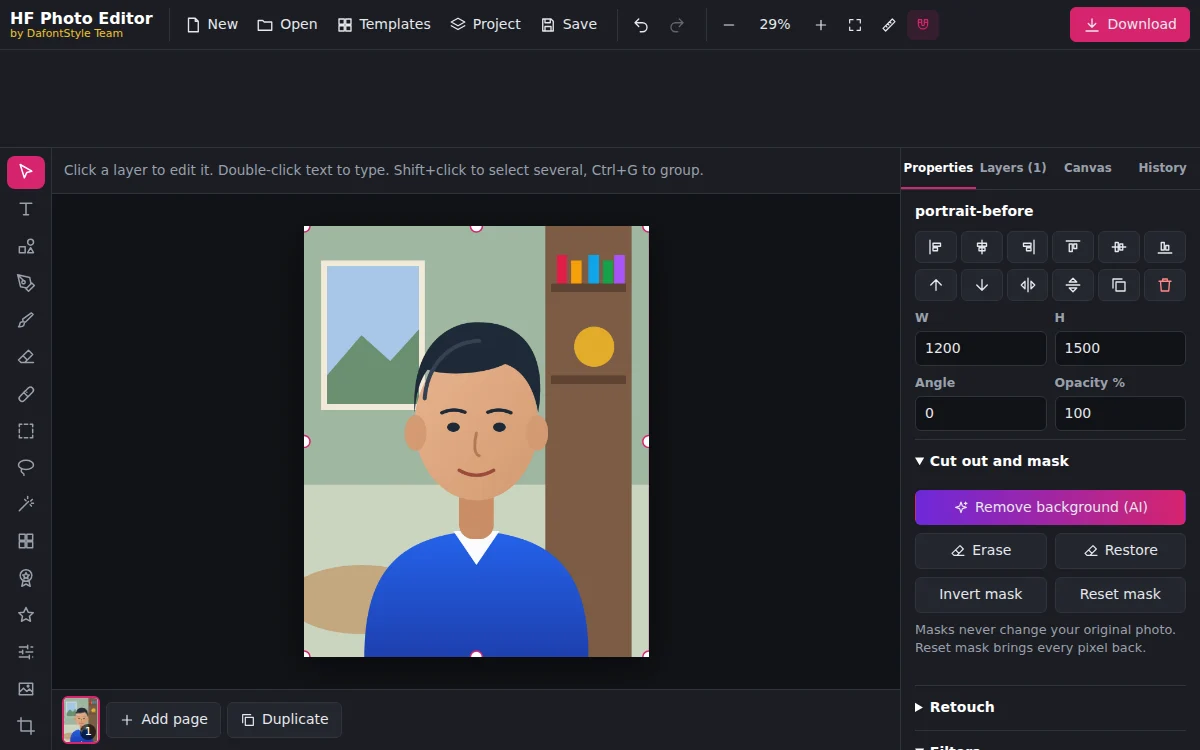
The first time, the browser downloads the AI model, which takes a moment on a slow connection. After that it is cached. The model runs on your own computer or phone, so your photo is never uploaded anywhere.
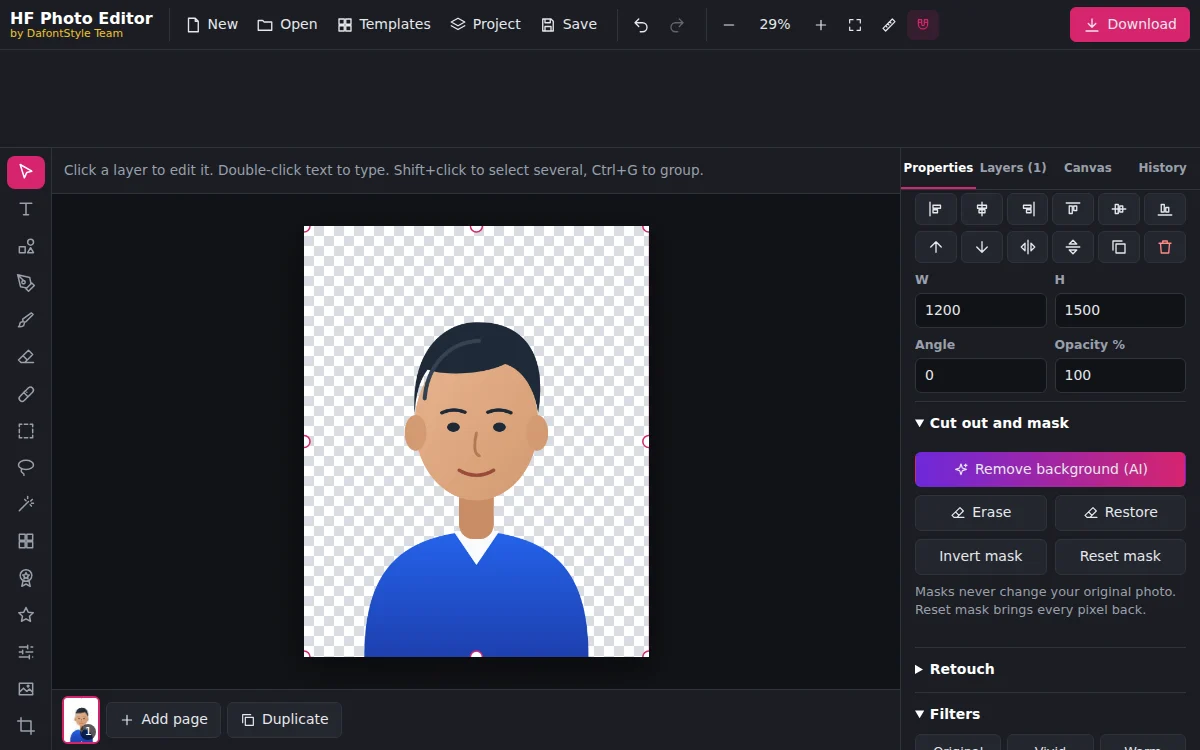
When it finishes, the background is gone and you see the checkered pattern that means transparent.
Step 3: Fix the edges
AI is very good, but hair, glasses and thin objects sometimes need a touch-up. Under Cut out and mask:
- Restore brings back parts that were removed by mistake. Paint over them.
- Erase removes leftovers of the background.
- Invert mask keeps the background and removes the subject instead.
- Reset mask brings back the whole original photo.
The brush size is in the tool options. Use a large, soft brush around hair and a small one along straight edges. The original photo is never changed, so you can always restore any part.
Step 4: Add a new background
Open the Canvas tab and pick one:
- Color: choose white for product and passport photos, or your brand color.
- Add gradient background: a colorful backdrop for profile pictures and posts.
- None: keep it transparent.
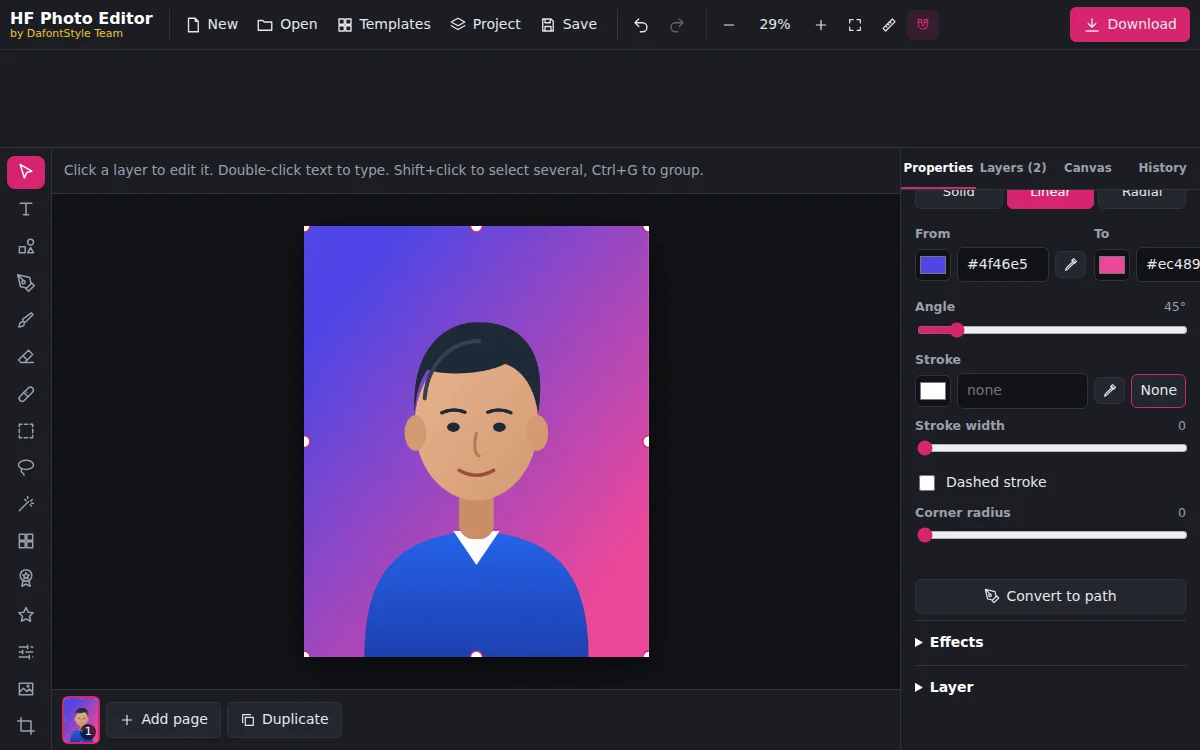
To place the subject on another photo, click Add image, choose the new background photo and move it below the subject in Layers. Then add text in front of or around the person; our guide to put the cut-out on a YouTube thumbnail shows a popular layout.
Want to keep the room but make it soft instead? You can blur the background instead of removing it with Portrait blur.
Step 5: Download
- PNG keeps the transparent background, for logos, stickers and designs. Learn more about how to save the result as a transparent PNG.
- JPG for photos with a new background. Transparent areas become white, which suits shop listings.
Online shops often ask for the main product photo on a pure white background (#ffffff). Set the canvas color to white before you download a JPG.
Tips for the best results
- Good light. Even, bright light gives sharper edges than a dark room.
- Contrast. Dark hair in front of a dark wall is harder than dark hair in front of a light wall.
- Big photos. Very large photos are processed at up to 2048 pixels and the result is scaled back to full size, so the edges stay smooth.
- People work best. The model is tuned for people and portraits. For products with fine details, check the edges and use Restore where needed.
Next steps
A white background is also the first step to a passport photo with a white background that you can print at home.